
In this tutorial, I will share a simple way how to run Cmder in PhpStorm 2017 on Windows 10. One may wonder why I want to run Cmder instead of default Windows terminal, right?
Running the default terminal/console on Windows is not really a pleasant experience for programmers. Luckily we have Cmder; a software package created out of pure frustration over the absence of nice console emulators on Windows.
It is based on amazing software, and spiced up with the Monokai color scheme and a custom prompt layout, looking sexy from the start. In short, you may consider Cmder as one of the best terminal alternatives on Windows.
Read more on Cmder here.
The Look and Feel
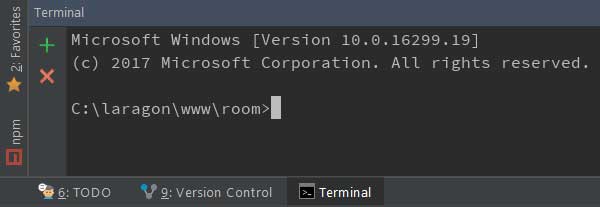
This is how the normal terminal looks like in PhpStorm 2017 on Windows.
And, this is how Cmder looks like in PhpStorm on Windows 10.

The git branch will be automatically highlighted in Cmder. This is one of the reason why Cmder is better than default terminal on Windows 10.
So how to run Cmder in PhpStorm 2017?
The Steps
#1 Add a new environment variable into your Windows via the Control Panel.

Find your Cmder root folder and save it into CMDER_ROOT variable. Please note that i’m using the Cmder inside Laragon.
#2 Update your terminal setting inside PhpStorm. Change the shell path from cmd.exe as follows:
"cmd.exe" /k ""%CMDER_ROOT%\vendor\init.bat""
That’s all. Now you may restart your PhpStorm. Your terminal should be using Cmder. Have comments /questions about this tutorial? Put your comments below.
Thank you for this tutorial. 🙂
Thanks for visiting my blog. 🙂